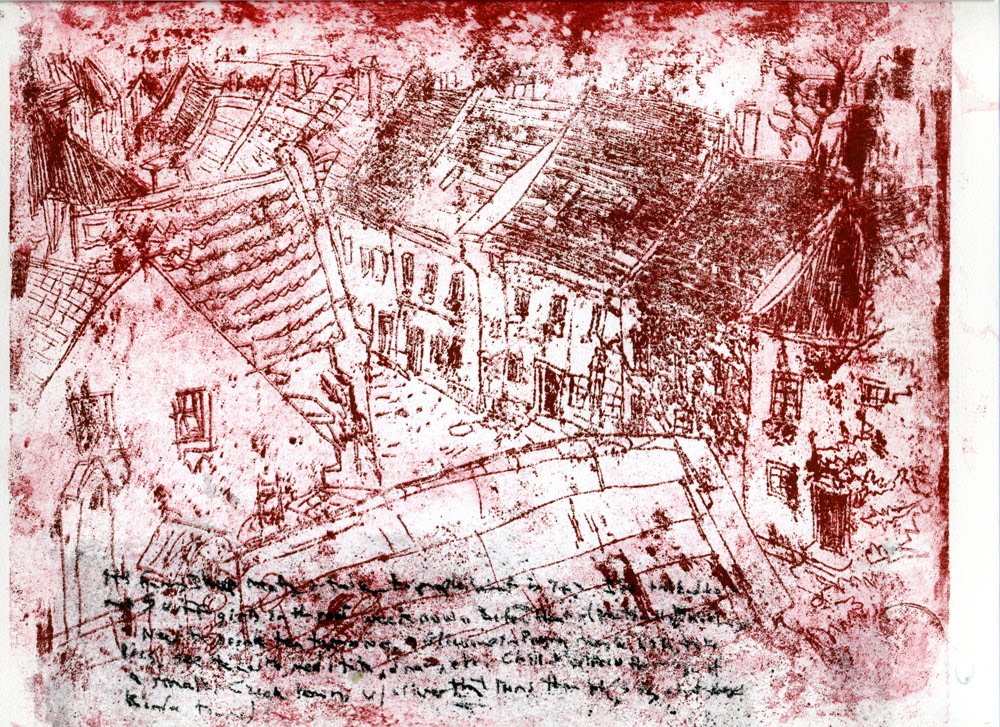
What is paper plate lithography? It is a form of printmaking where you take a laserprint photocopy (xerox) of an image as the basis for a lithograph. Gum arabic is placed on the photocopy. When you ink the copy, the gum arabic repels the ink from the white spots while the ink adheres to the photocopy parts.
What do you need?
- Laser print copy (reversed)
- Shellac - optional
- Gum arabic
- Oil based Etching ink
- Roller
- Rolling pin - for the DIYers
- Disposable gloves
- Sponge
- Crappy brushes
- Printing surface - plexiglass works
- Burnt plate oil - for thinning out the ink (optional)
- Printing paper - Rivers BFK
- Baby oil - ink clean up
1) After you have your laser print copies, shellac the back of each copy. This is done to give the paper more strength when you're inking it and dousing it in gum arabic. This step is not necessary but it will make your life a little easier.

2) After the shellac dries, turn the copy over to the printed side. Use gum arabic to cover the entire image. This will make the paper repel the ink later.

3) Take a damp sponge and wipe off / even out the gum arabic.

4) You're ready to ink it. Put on your gloves at this time. It gets messy. Take some ink out with a palette knife and place it on a workspace. Work the ink some to get it a nice consistency. Use a drop or two of burnt plate oil if it's too tacky. Next, use your roller and get a nice even coat of ink on in. Now roll your image. Cover all the photocopied parts; if there are white parts it's not necessary to ink these.

5) This is one of the most important steps. Using a sponge, remove the excess ink. Now, the easiest way to do this is to get your sponge really wet. Drop a few drops of water on the ink. Watch how the ink disippates; it's like oil and water mixing. Use the sponge to sop up the excess ink and rinse it out / douse it in a bucket of water often.

6) After all the excess ink is gone, you should notice the ink sticking to your image. If you don't, you might now have enough ink on it. Maybe you wiped off the ink or didn't do it right. You can roll it again or take your chances.

7) Take your printing paper and put it on your work surface. Sometimes it helps for your to have dampened the paper ahead of time and let it dry some. This is optional. Put your inked paper face down on the paper.

8) Take a rolling pin and roll the back of the paper. Initially I had a piece of paper over the inked paper to minimize mess, but it doesn't seem to work as well as rolling directly on the paper.

9) Now peel your (de)inked paper plate off the printing paper. Hopefully your print came out okay. If not, you might be able to make another pass with the same plate (or better yet a fresh one). This can create a neat effect if you do it correct. Just make sure to line up the plate correctly the second time. Good luck!

Special thanks to my former professor
Rachel Gross who taught me this process initially,
Central Art Supply for all my art supply needs, and
Scott Pernicka for letting me use his laserprinter.